Create Website in minutes with Hugo
Introduction
Creating a static website is very easy. There are many static site generators like Hugo, jKeyll, NextJS, etc. In this blog post we will discuss about Hugo.
Hugo is very popular static website generator. It allows you to create a static site in matter of minutes. Once we create this site, we need to host it some where. Hang on thats going to cost money. Naah!! Here comes GitHub Pages. It allows you to host static website for free.
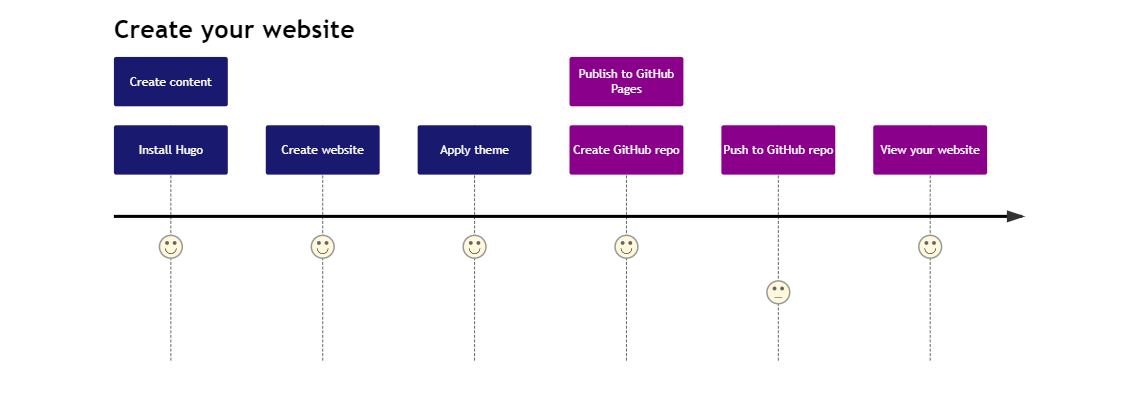
So let us dive in and get a website created in minutes.
Prerequisites
- Install Git in local
- GitHub login
Tools used
- VS Code or any other editor
- Hugo
Install Hugo
Installing Hugo is very easy. Below link has steps for installation. https://gohugo.io/getting-started/installing/
If on windows go to below link and download the zip file. Once the zip file is extracted, you will find an executable file. Double click on it to install it in local system.
https://github.com/gohugoio/hugo/releases/download/v0.71.1/hugo_0.71.1_Windows-64bit.zip
https://github.com/gohugoio/hugo/releases/download/v0.71.1/hugo_extended_0.71.1_Windows-64bit.zip
Create Website
Create a folder which will have your website content. To create a website just enter below command in the VS Code terminal. If Hugo is installed correctly it will create a website.
hugo new site {yourwebsitename}
Add content as below
hugo new introduction.md
To see the website in local machine use below command
hugo serve -D
This will convert all markdown content to HTML pages and publish to http://localhost:1313. Browse to this URL in local and you will see your website.
Congratulation! you have built a basic website. But this is still not enough as it doesn’t look professional. So let us make this website more professional by applying theme.
Apply theme
Hugo has a range of existing themes. All the themes are listed at below website.
Pick any theme that you like. I am going to pick below theme.
https://github.com/luizdepra/hugo-coder.git
Locate a themes folder in the directory and clone the theme. If you don’t know how to clone, just download it and create a folder under themes call it as mytheme.
In order for the theme to reflect, go to config.toml file and change below configuration :
theme = "mytheme"
Apply basic configuration by copying content of config.toml from examplesite in the theme folder to your root config.toml file. Make appropiate changes.
Run the site again and you should see new theme applied.
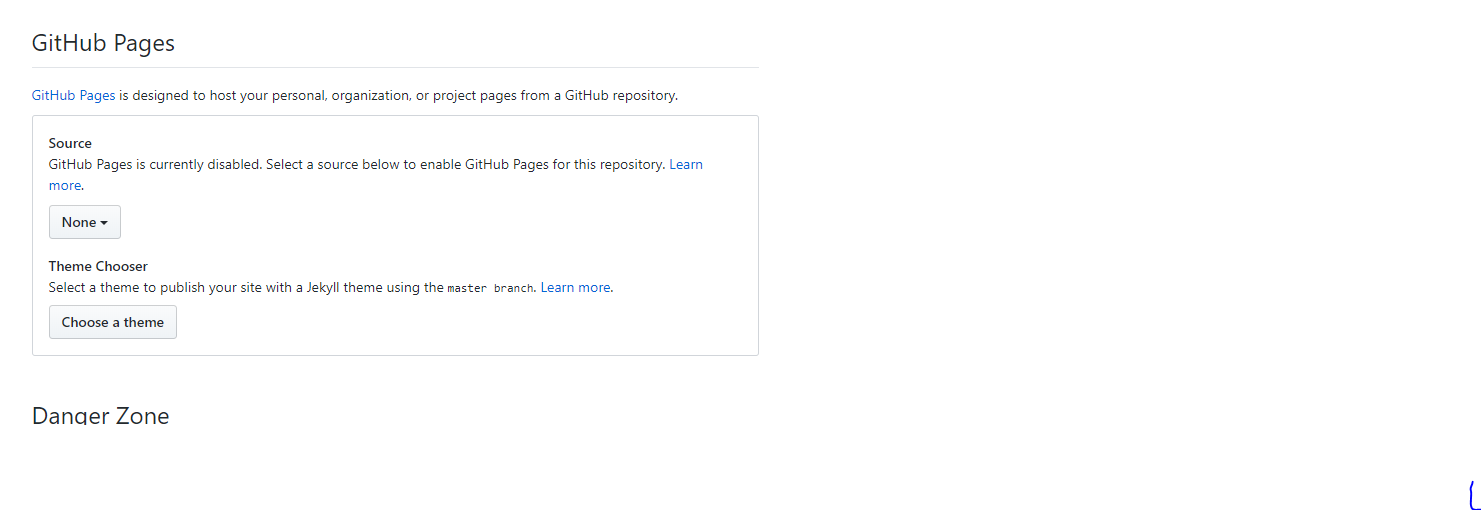
Publish website
This step is really interesting. We will be using GitHub Pages for hosting the website. GitHub Pages is free for static websites. You can also use netlify or AWS or Azure or any other platform of your choice to host the website.
- Create a repository on GitHub. Set the name of the repository to {githubusername.github.io}.

- Final step is to push the changes. Run below command
hugo
This command will generate bunch of files in a folder called public. We need to push this folder to repository that we created.
cd public
git clone 'githubrepo.github.io'
git add .
git commit -m "Publishing my new website"
git push origin master
This is the most complex part, if you can do this few command (if you are a developer its easy, if not then might take couple more minutes), you will get your website.
https://githubusername.github.io
Waw!!! All done.
Conclusion
As you can see it is very easy to create a website of your own using Hugo. We used GitHub Pages to host it which is free of cost.
Enjoy!!!